
Irresistibly Easy Fudge Christmas Trees: An Outline for a Festive Treat
What are Fudge Christmas Trees and why are they the go-to holiday treat?
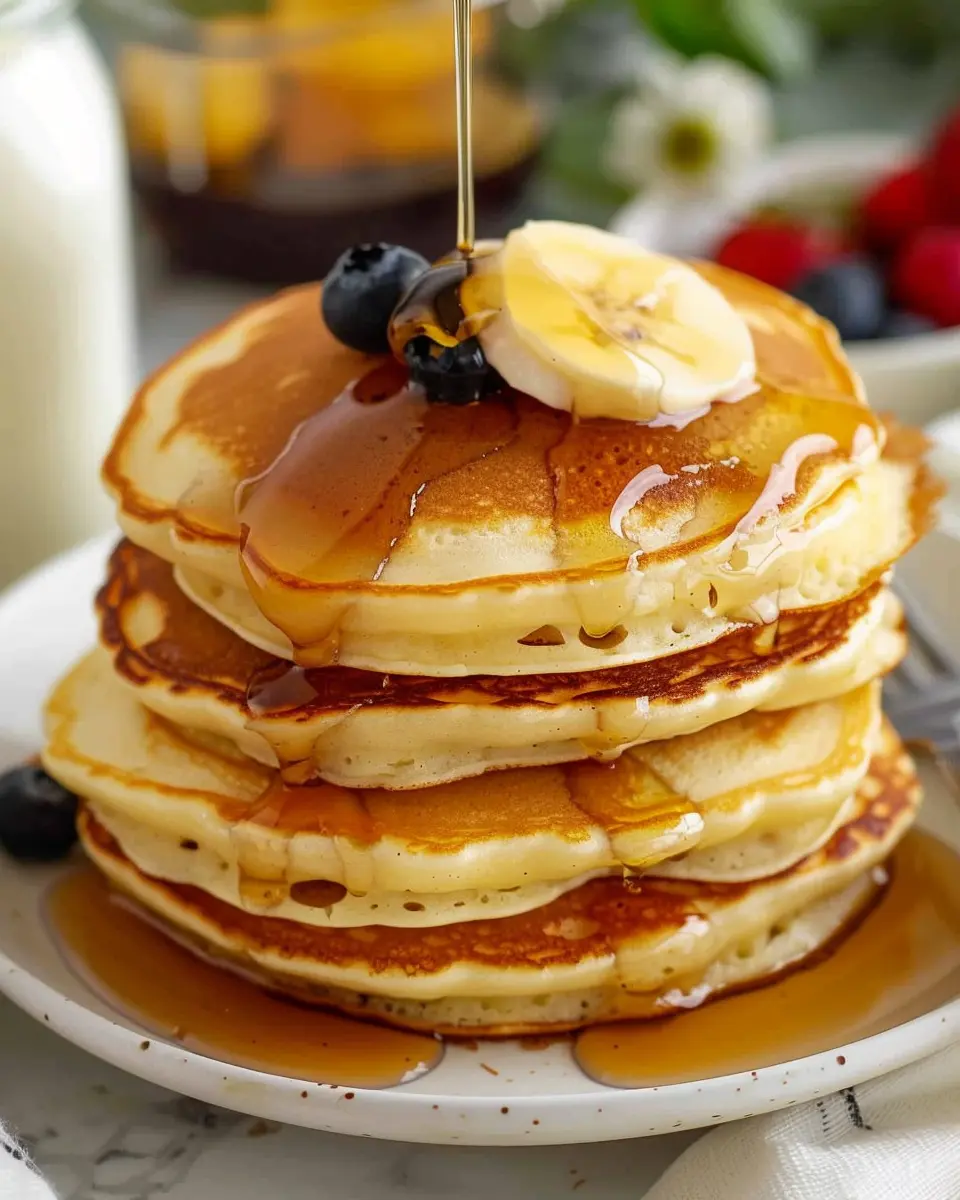
When you think of festive treats, Irresistibly Easy Fudge Christmas Trees likely come to mind. These adorable confections are not just delicious; they’re also a delightful way to add a bit of whimsy to your holiday celebrations. Imagine bite-sized trees crafted from rich, creamy fudge, adorned with colorful sprinkles or edible glitter. They stand proudly on dessert platters, tempting your family and friends to take a piece (or two)!
The Allure of Fudge Christmas Trees
So, why are these whimsical treats such a holiday favorite? For starters, they are ridiculously easy to make. With just a handful of ingredients—usually chocolate, sugar, and butter—most of which you might already have in your pantry, this treat requires minimal effort for maximum impact. You can also customize them with a variety of toppings, from crushed candy canes to mini chocolate chips, allowing your creativity to shine.
Plus, they’re perfect for parties. Need a last-minute dessert to bring to a gathering? Fudge Christmas Trees can often be whipped up in under an hour! This is a big plus for busy professionals who want to impress without spending an eternity in the kitchen.
Tips for Making Irresistibly Easy Fudge Christmas Trees
-
Quality Ingredients: Always opt for high-quality chocolate. It makes a noticeable difference. Look for brands with a high cocoa content for rich flavor.
-
Presentation Matters: Use vibrant colors for your decorations to create a festive look. Think green, red, and white! Personalize each treat if you’re feeling adventurous.
-
Storage: These fudge trees can last for up to two weeks if stored properly in an airtight container. So go ahead, make a batch and enjoy throughout the season!
Embarking on your journey to create Irresistibly Easy Fudge Christmas Trees not only fills your home with delightful aromas but also brings loved ones together. What will you try adding to your own batch? If you’re looking for storage tips and other festive ideas, check out The Spruce Eats for helpful recipe resources and festive inspiration.

Ingredients for Irresistibly Easy Fudge Christmas Trees
Essential ingredients for the fudge
To create your Irresistibly Easy Fudge Christmas Trees, you’ll need some classic ingredients that come together to make that ultra-creamy, rich fudge. Here’s what you’ll need:
- 2 cups of semi-sweet chocolate chips
- 1 cup of sweetened condensed milk
- 1 teaspoon of vanilla extract
- A pinch of salt
These basics ensure your fudge is not only smooth but bursting with flavor. For an extra touch, consider using organic chocolate to enhance both taste and ethical sourcing. Want to learn more about the benefits of using quality chocolate? Check out this Resource on Chocolate Quality.
Decorative toppings to make them festive
Now that you’ve got the fudge foundation down, let’s elevate your trees with some festive flair! Think colorful and fun toppings like:
- Crushed peppermint candies for a wintery crunch
- Sprinkles in holiday colors (red, green, gold)
- Edible glitter to give that magical sparkle
These toppings not only make your fudge look appealing but also add delightful textures and flavors. You’re sure to impress friends and family with these festive touches on your holiday treats!
Step-by-Step Preparation of Fudge Christmas Trees
Making Irresistibly Easy Fudge Christmas Trees can truly elevate your holiday festivities. These cute treats not only taste delightful but also serve as a fantastic decoration or gift. Let’s walk through each step together!
Gather Your Kitchen Equipment
First things first, having the right tools is essential in creating these festive fudge trees. Here’s what you’ll need:
- A medium saucepan
- Mixing bowl
- Piping bags (disposable ones make cleanup easier)
- Baking sheet lined with parchment paper
- Spatula or wooden spoon
- Microwave-safe bowl (for melting chocolate)
These simple items will help you streamline the process and keep everything organized. Did you know that a well-prepped kitchen can save you up to 30% of your cooking time? So, let’s make sure you’re equipped and ready to go!
Melt the Green Candy Melts
Melting the green candy melts is a crucial step in achieving that vibrant tree color. Here’s how to do it:
- Place the green candy melts in a microwave-safe bowl.
- Microwave them on high for 30-second intervals, stirring well after each interval. Repeat until smooth and fully melted. This usually takes about 1-2 minutes.
- Be cautious not to overheat, as this can alter the texture. For a deeper dive, check out articles on candy melting techniques here.
This melted candy will later become the delightful coating for your fudge trees!
Combine the Fudge Ingredients
While your candy melts cool down a bit, it’s time to prepare the fudge mixture. Here’s what you’ll need:
- 2 cups of semi-sweet chocolate chips
- 1 can (14 oz) of sweetened condensed milk
- 1 teaspoon of vanilla extract
- A pinch of salt for balance
Simply combine the chocolate chips, sweetened condensed milk, and salt in your saucepan. Heat over low to medium heat, stirring continuously until the chocolate is completely melted and smooth. The sweet aroma wafting through your kitchen will have everyone curious about what you’re baking!
Pour and Cool the Fudge Mixture
Next up, you’ll want to pour the fudge mixture into the prepared baking sheet lined with parchment paper. Spread it evenly using a spatula. Here’s a pro tip: you can use a ruler to measure out squares to make cutting more manageable later on.
Let the fudge cool at room temperature for about an hour. Alternatively, you can stick it in the fridge for a quicker cool-down. But remember, don’t rush the cooling process too much; a well-set fudge will make it easier to carve your trees.
Create Tree Shapes Using the Piping Bag
Once your fudge has cooled and set, it’s time to get crafty.
- Use a sharp knife to cut the fudge into triangles—these will be your Christmas tree shapes.
- Fill your piping bag with the melted green candy from earlier.
- Pipe the candy onto each fudge triangle in a zigzag pattern to mimic branches. This is where the fun begins—your creativity is key!
Imagine your trees; each one can have its unique look!
Decorate with Sprinkles and Stars
The final touch to your Irresistibly Easy Fudge Christmas Trees is decoration!
- Use colorful sprinkles to give each tree its personality.
- For the star on top, you can insert a small candy star or even a piece of sugar cookie.
You can even add edible glitter for a sprinkle of extra magic. These festive additions not only look delightful but also make each tree distinctive to its creator. The joy of sharing your creations with friends and family is part of the fun!
Now, you’re ready to enjoy your wonderfully festive fudge Christmas trees. These bites of joy are perfect for parties, gifts, or simply enjoying on a cozy winter evening! For even more festive inspiration, check out this entertaining guide on fun holiday treats here. Happy holiday baking!

Creative Variations on Fudge Christmas Trees
When it comes to creating Irresistibly Easy Fudge Christmas Trees, why not think outside the box and add your own twist? Here are some fun variations that will delight your family and friends this holiday season.
Minty Variations Using Different Extracts
Adding mint extract to your fudge mixture is a game-changer. You can use peppermint for that classic holiday flavor or try spearmint for a milder taste. For something truly unique, consider using almond or orange extracts. Just a few drops can deeply transform your fudge into something remarkable.
If you want to make your minty trees extra special, consider drizzling them with a chocolate ganache and then topping them with crushed peppermint candies. Not only does this add flavor, but it also gives your trees an irresistible festive look!
Colorful Fudge Trees for a Vibrant Twist
To make your Irresistibly Easy Fudge Christmas Trees pop this year, why not experiment with different colors? Simply divide your fudge mixture into several bowls and add food coloring to each. Layer the colors in your tree molds for a beautiful rainbow effect. You could even top each layer with a contrasting sprinkle blend.
For an added touch of texture, consider incorporating nuts, dried fruits, or even mini marshmallows into your layers. Not only will this create a delightful taste experience, but it will also make your trees look so inviting on the dessert table!
These simple yet creative variations will surely make your fudge trees the talk of the holiday season. For more ideas or variations, check out resources from the National Confectioners Association or your favorite baking blogs for inspiration. Happy decorating!
Cooking Tips and Notes for the Perfect Fudge
Tips for Achieving the Right Consistency
Perfect consistency is the secret to making Irresistibly Easy Fudge Christmas Trees. Here are some tips to nail it:
- Use a Candy Thermometer: Aim for a temperature of 234°F to 240°F (soft ball stage). This ensures a smooth, creamy texture.
- Stir Gently: Once you add your ingredients, stir slowly and be careful not to overmix. This helps prevent graininess.
Storage Recommendations to Keep Them Fresh
To keep your fudge fresh and delicious throughout the holidays:
- Store Properly: Wrap individual pieces in wax paper or parchment and place them in an airtight container.
- Cool and Refrigerate: Let the fudge cool completely before storing it in the fridge. It can last for about 2-3 weeks if sealed tight.
For more information on candy preservation techniques, check out sources like Sally’s Baking Addiction. Happy cooking!

Delightful Serving Suggestions
Ideal Pairings for Holiday Gatherings
When it comes to serving your Irresistibly Easy Fudge Christmas Trees, think of delightful combinations that complement their rich flavors. Consider offering them alongside:
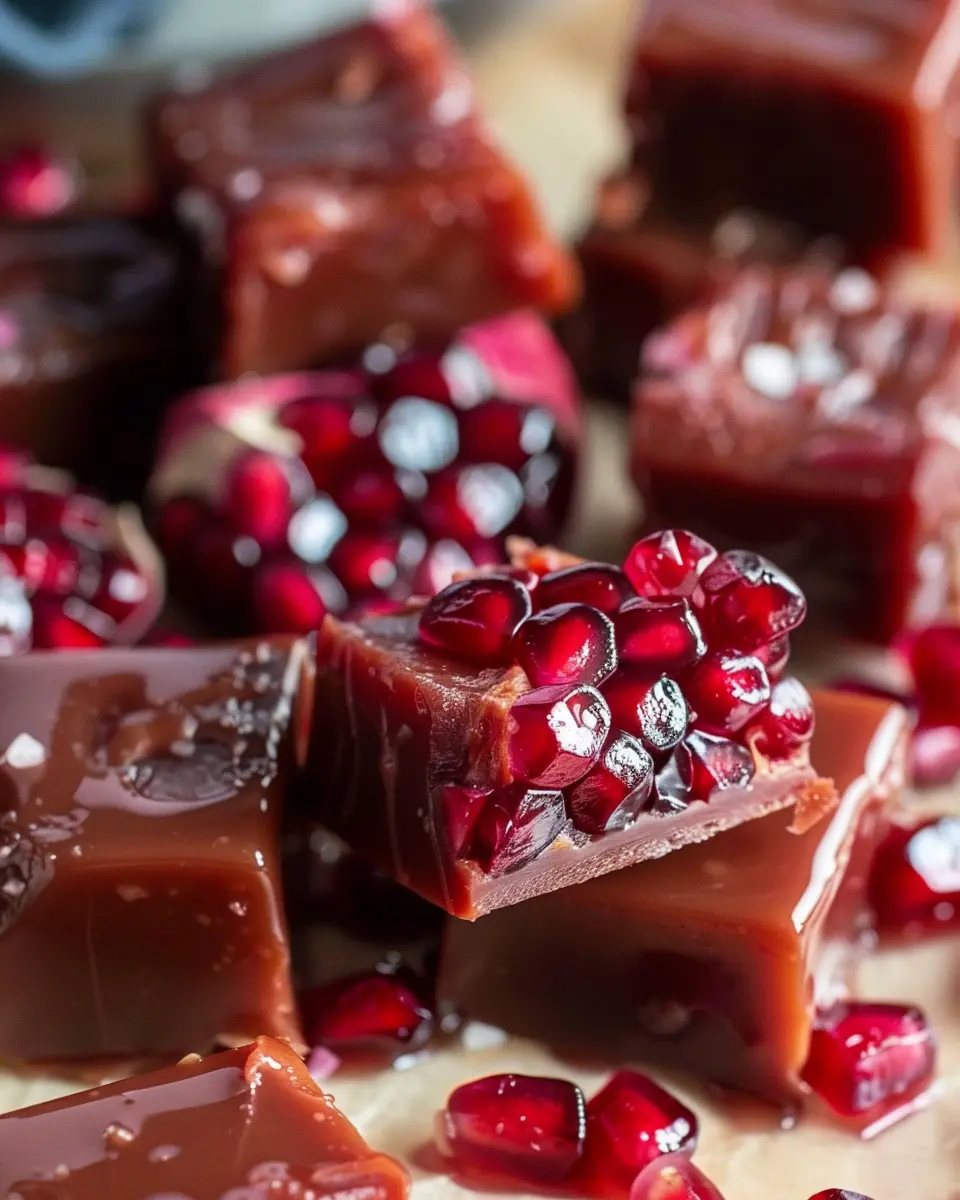
- Festive fruit platters featuring seasonal favorites like clementines and pomegranates, which provide a refreshing balance.
- Savory snacks like cheese boards with assorted cheeses, turkey bacon bites, and chicken ham to contrast the sweetness of the fudge.
- Warm beverages such as spiced apple cider or hot chocolate, perfect for sipping while indulging in your fudge.
These pairings will not only elevate your gathering but also create a vibrant spread that guests will love.
Creative Presentation for Gifting
Packaging your Irresistibly Easy Fudge Christmas Trees as presents adds an extra touch of joy. Use colorful boxes or festive cellophane wrap, and consider adding personal notes for that heartfelt touch. You could even use ribbons or twine for a rustic look. These thoughtful details make your fudge not just a treat but a cherished gift.
For more inspiration, check out sites like Martha Stewart for creative wrapping ideas!
Time Breakdown for Making Fudge Christmas Trees
Preparation Time
Creating Irresistibly Easy Fudge Christmas Trees is a delightful experience that starts with about 15 minutes of preparation. Gather your ingredients—sweet chocolate, condensed milk, and green food coloring—along with your festive cookie cutters. Don’t forget to line your pan with parchment paper for easy removal later!
Cooling Time
Once your fudge mixture is ready, it needs some cooling time. Let it set in the refrigerator for at least 2 hours. This is essential for the fudge to achieve that perfect, sliceable consistency. In the meantime, you could prepare decorations like sprinkles or edible glitter to make your trees sparkle!
Total Time
In total, you’re looking at approximately 2 hours and 15 minutes to whip up these festive treats. The best part? Most of that time is hands-off, allowing you to catch up on holiday music or plan your next baking adventure. Just imagine the joy of sharing these with friends and family—what a sweet way to celebrate the season!
For more detailed tips and comforting recipes, check out The Kitchn and Food Network.
Nutritional Facts for Fudge Christmas Trees
Caloric Content and Serving Size
When you indulge in these Irresistibly Easy Fudge Christmas Trees, know that each tree (approximately 1 oz) packs about 100 calories. While it’s perfect for satisfying your sweet tooth during festive gatherings, portion control is key—sharing might just be the best way to enjoy without overdoing it!
Key Nutritional Information
These fudge trees are rich in flavor but also deliver some nutrition. Here’s what to expect:
- Fat: Approximately 5g, providing a creamy texture.
- Carbohydrates: About 14g, mainly from sugar, giving you a quick energy boost.
- Protein: Around 1g, though not a substantial source.
For those watching their intake, consider using sugar substitutes or experimenting with dark chocolate, which can offer more antioxidants. Interested in further insights on nutrition? Check out resources like Healthline for balanced eating tips. Remember, enjoyment is all about balancing the treats and maintaining a wholesome diet!
FAQs about Irresistibly Easy Fudge Christmas Trees
Can I substitute ingredients for dietary restrictions?
Absolutely! The beauty of Irresistibly Easy Fudge Christmas Trees is their versatility. If you or a loved one have dietary restrictions, consider these substitutions:
- Dairy-Free Options: Use coconut milk or almond milk instead of regular milk and opt for dairy-free chocolate chips.
- Nut Allergies: You can omit nuts, or if a nut-free option is needed, try using sunflower seeds for crunch.
- Sugar Alternatives: Swap out granulated sugar for coconut sugar or a sweetener like stevia to cater to your health needs.
If you’re looking for more healthy options, sites like Healthline can offer tips on ingredient alternatives that align with various diets.
How long do the fudge trees last?
When stored properly, your Irresistibly Easy Fudge Christmas Trees can last up to two weeks at room temperature. If you want to extend their shelf life, consider refrigerating them, which can keep them fresh for up to a month!
What’s the best way to store them?
Storing your fudge trees properly is key to maintaining their delightful flavor and creamy texture.
- Room Temperature: Place them in an airtight container and keep them in a cool, dry place, away from direct sunlight.
- Refrigeration: If you choose to refrigerate, ensure they’re in a sealed container to prevent drying out and absorbing other odors from your fridge.
Keeping your fudge trees well-preserved not only enhances their taste but also adds to the joy of sharing during the festive season. For more detailed storage tips, you can always refer to sources like The Spruce Eats.
So get ready to impress your friends and family with your homemade holiday treats!
Conclusion on Irresistibly Easy Fudge Christmas Trees
As we wrap up our festive journey with Irresistibly Easy Fudge Christmas Trees, it’s clear that homemade holiday treats bring a unique joy to our celebrations. Nothing beats the warmth of preparing delicious goodies in your kitchen, especially during this magical season.
Consider the smiles on your friends’ and family members’ faces when they see these delightful fudge trees. Each bite not only satisfies sweet cravings but also creates treasured memories.
So why not make this festive treat a part of your holiday traditions? For more inspiration on holiday delights, check out resources from the Joy of Baking or Food Network. Your Irresistibly Easy Fudge Christmas Trees are sure to become a holiday favorite!
PrintIrresistibly Easy Fudge Christmas Trees for a Sweet Holiday Treat

These fudge Christmas trees are a delightful treat that brings joy to your holiday celebrations. Easy to make and even easier to enjoy!
- Prep Time: 15 minutes
- Cook Time: 10 minutes
- Total Time: 25 minutes
- Yield: 12 servings 1x
- Category: Dessert
- Method: Stovetop
- Cuisine: American
- Diet: Vegetarian
Ingredients
- 2 cups semi-sweet chocolate chips
- 1 can (14 oz) sweetened condensed milk
- 1 teaspoon vanilla extract
- 1/2 cup powdered sugar
- Green food coloring to desired color
- Decoration sprinkles for topping
Instructions
- In a saucepan, combine chocolate chips and sweetened condensed milk over medium heat.
- Stir constantly until melted and smooth.
- Remove from heat and mix in vanilla extract and powdered sugar until well combined.
- Add green food coloring until you reach your desired shade.
- Pour the mixture into a tree-shaped mold and let it cool until set.
- Once set, remove from the mold and decorate with sprinkles.
Notes
- Make sure to let the fudge cool completely before decorating.
- Store in an airtight container for up to a week.
Nutrition
- Serving Size: 1 tree
- Calories: 150
- Sugar: 20g
- Sodium: 30mg
- Fat: 7g
- Saturated Fat: 4g
- Unsaturated Fat: 2g
- Trans Fat: 0g
- Carbohydrates: 20g
- Fiber: 1g
- Protein: 2g
- Cholesterol: 5mg
Keywords: Fudge, Christmas, Holiday Treat